Creating a Disc Golf Disc
Wing It 101: Making the Mold Part 2
In the last blog post, Eric did a great job of talking through the steps we went through while making the mold. I wanted to put some of the pictures that he showed in his video up here so you could get a little better look at them, along with a few extra pictures.
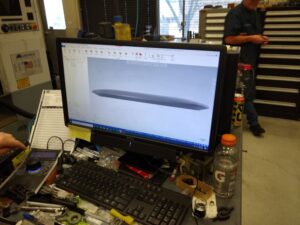
In our first post, we talked about how we were able to create a 3D model of what we wanted and sent that to the plastic company. They came back with a 3D print of what our disc would look like. It was fun to get to “see” what our disc was going to look like even if it wasn’t made out of the right type of plastic, as Eric mentioned in his video.
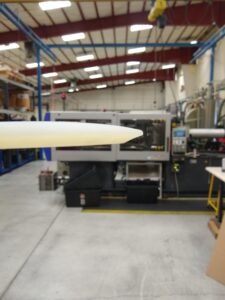
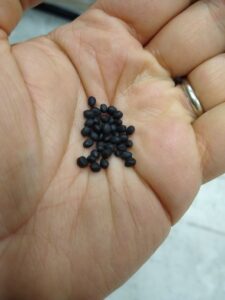
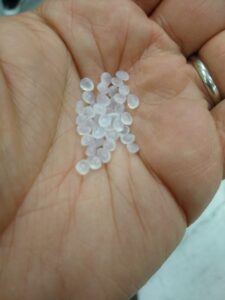
The plastic they used to print the disc was a very rigged plastic with no give in it at all. If it hit the road it would definitely break. This made the disc heavier than regulation as well. We knew it was just a model though. Discs that are used in disc golf are made out of a lighter more flexible plastic combined with a few other various ingredients to get the right give in the disc, as well as the right weight of the disc. Below you can see a couple of pictures of little plastic pieces or beads. These beads are melted down and injected into the mold we end up with to create our disc.
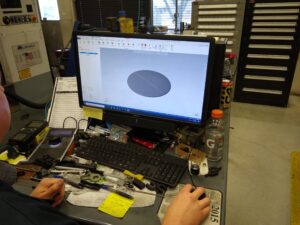
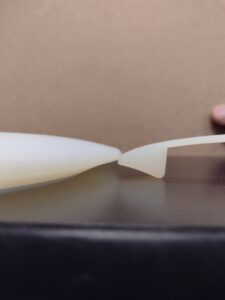
We made some slight changes to the design based on the 3D printed disc as Eric mentioned in the video. They made some adjustments to it and printed a section of what the disc would look like out again (on the right in the picture below). We actually ended up making one more small change after we saw that segment. That wrapped up the disc design.
The only thing we had left to do at the time was to play the waiting game as the plastic company ordered the metal mold for our disc. Of course, the waiting game wasn’t the only game we played…

Until next time, this is Jamin, just winging it.